Showing posts with label embellish. Show all posts

Tuesday, December 30, 2014

Scraps: Scrunchies or Chou Chous? Green Sewing for the New Year

Two Completed Chou Chous
(along with a fabric covered book) I made for gifts
~ ~ ~ 
Web Resources 
Enchanted by Sewing Show Notes and Links to Shows http://www.enchantedbysewing.blogspot.com/2014/12/ench-by-sew-027-festive-holiday-tees.html

Audio-Only Link http://ec.libsyn.com/p/7/1/3/713e354889f7b167/FINALcastFestiveTeaAndTeesdec2014.mp3?d13a76d516d9dec20c3d276ce028ed5089ab1ce3dae902ea1d06c98e3ed7cf5d5260&c_id=8063812

What is a Chou-Chou or a Scrunchie? http://en.wikipedia.org/wiki/Scrunchie

Although I made chou-chous for holiday gifts, they are a perfect cleanup-for-the-New-Year or anytime, sewing cleanup/recycling project. You can't get more green than using up scraps of fabric that are too pretty to toss. You can also use the ends of stained or recycled clothing. You can even repurpose old worn elastic!


Here's the idea in picture form, to help you follow along with the Technicos segment of that show.


I can never toss really pretty scraps
But at some point, I need to use them!

I measure out 10 inches of 1/4 inch elastic

I fold a 20 (or slightly longer) tube of scrap fabric
This one isn't perfectly straight and it has one edge hemmed  as a result
of a long-ago project trim. No problem

I pieced on one extra scrap, to make the tube about the
right width
An extra seam at an odd place isn't a problem
when you are scrunching up the fabric anyway

 I cut a piece of string longer than the length of the tube

And lay it inside the tube, along the fold line

Stitch down one side of the tube and across just ONE open end
Make sure not to catch the string when you sew the long side
But DO catch it when you sew across the open end

At this point, I chose not to trim along the seam line,
to give a sausage-like look to the finished chou-chou

Push the sewn across end down into the tube


Pull the string end through the tube, so the outside pulls through
Note that this is a very thick, fabric like chou-chou
That's because I chose not to trim the seam after I sewed it,
to give that sausage-like appearance.
Remember, the chou-chou fabric tube should be about twice as long as the elastic,
so that the fabric scrunches up
You also want enough elastic to be able to double the band around the hair
Otherwise, it will slide off.

Open the sewn-across end, by snipping off the string
Now you have two open ends
Add a safety pin to your 10" of elastic
Pull the elastic through your tube
I set the zig-zab stitch on my machine
I caught up/secured my elastic end on both ends
with a zig-zag stitch.
Be careful not to lose the elastic ends  down either end of the tube, at this point!
Then I sewed the two secured ends together
When I doubled the finishing off seam back to get a neater finish
I broke my needle
So after that, I wrapped my second, neatening seam with a hand stitch
That takes less time than changing my machine needle!


Wednesday, October 9, 2013

Antique Threads - Up to Dating Ruffles and Teacups (Historic Inspiration)


If you listened to my July podcast from the fashion gallery of the Victoria and Albert (V&A) in London, you'll recall that I was in sewist heaven when it came to studying fashions in the V&A's collection.

I haven't even finished blogging about some of my ideas from that trip yet - thoughts on creating new looks based on gorgeous antique and retro garments I talked about and photographed in the V&A - before a new book purchase*  get me heading out to search the free on-web collection at the V&A museum, to look up more details from several historic beauties mentioned in this delicious book.


What's the appeal? Not only are were the
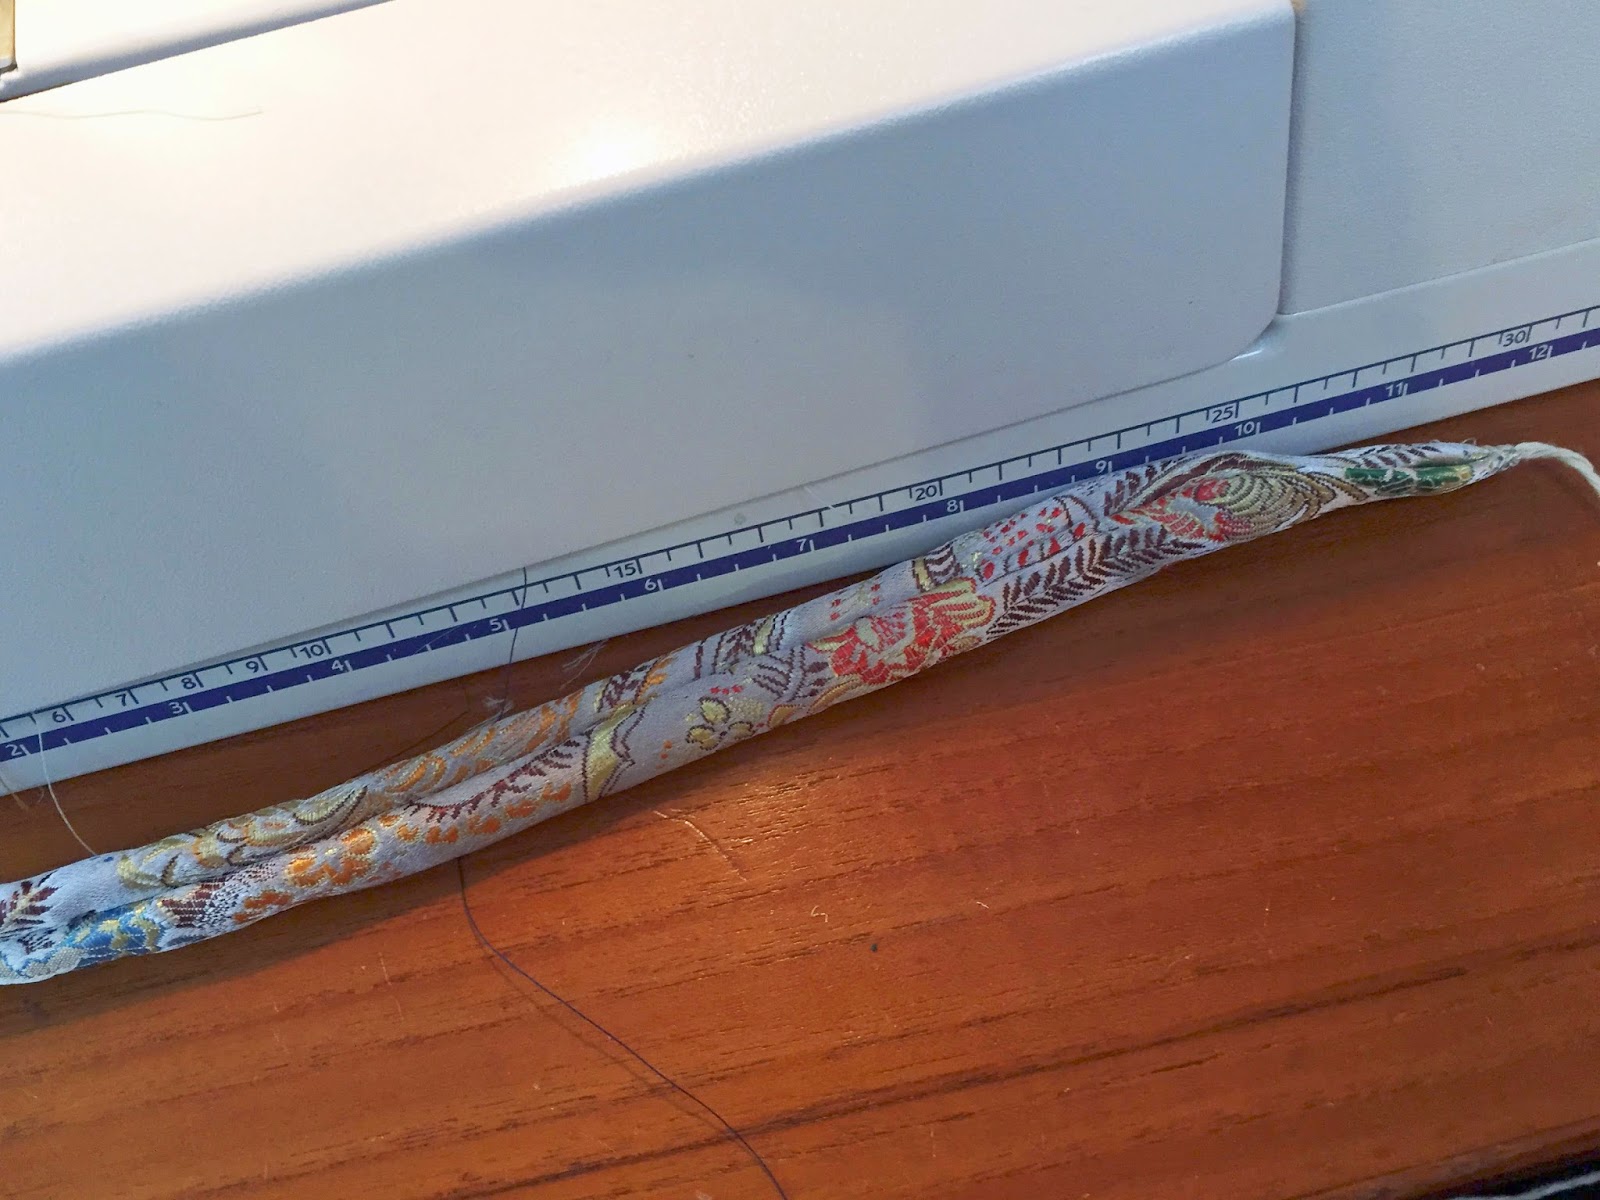
edges of these silk strips left raw, the gathered band
was also twisted in a sinuous pattern.
As a result, I have fallen for a dress. 

It's one of those sewing danger things, right? Bad enough when the inspiration garment is something I might wear only once to a wedding or a performance at the opera, but I had to get knocked over by an embroidered silk doozy from the late eighteenth century. 

We're talking here about twenty or thirty yards of silk. We're talking about major ruffles and teacups. We are talking about something that would not even fit through the door of the mini van!

It's the pinked and scalloped strips of silk on this gown** from the late eighteen century that have me itching to come up with a modern way to use this style of embellishment. But I haven't been able to see past the style of this lovely, but totally impractical for modern times (!) sack-back gown. I couldn't see it in a vest, jacket or skirt. OK, I could but the look would have been waaayyyy too fussy. 

.
I had forgotten, however, about this outfit*** I pinned on my Pinterest Historic and Retro Sewing Board. Me oh my, it gives me ideas for deploying that really cool ruffle. 

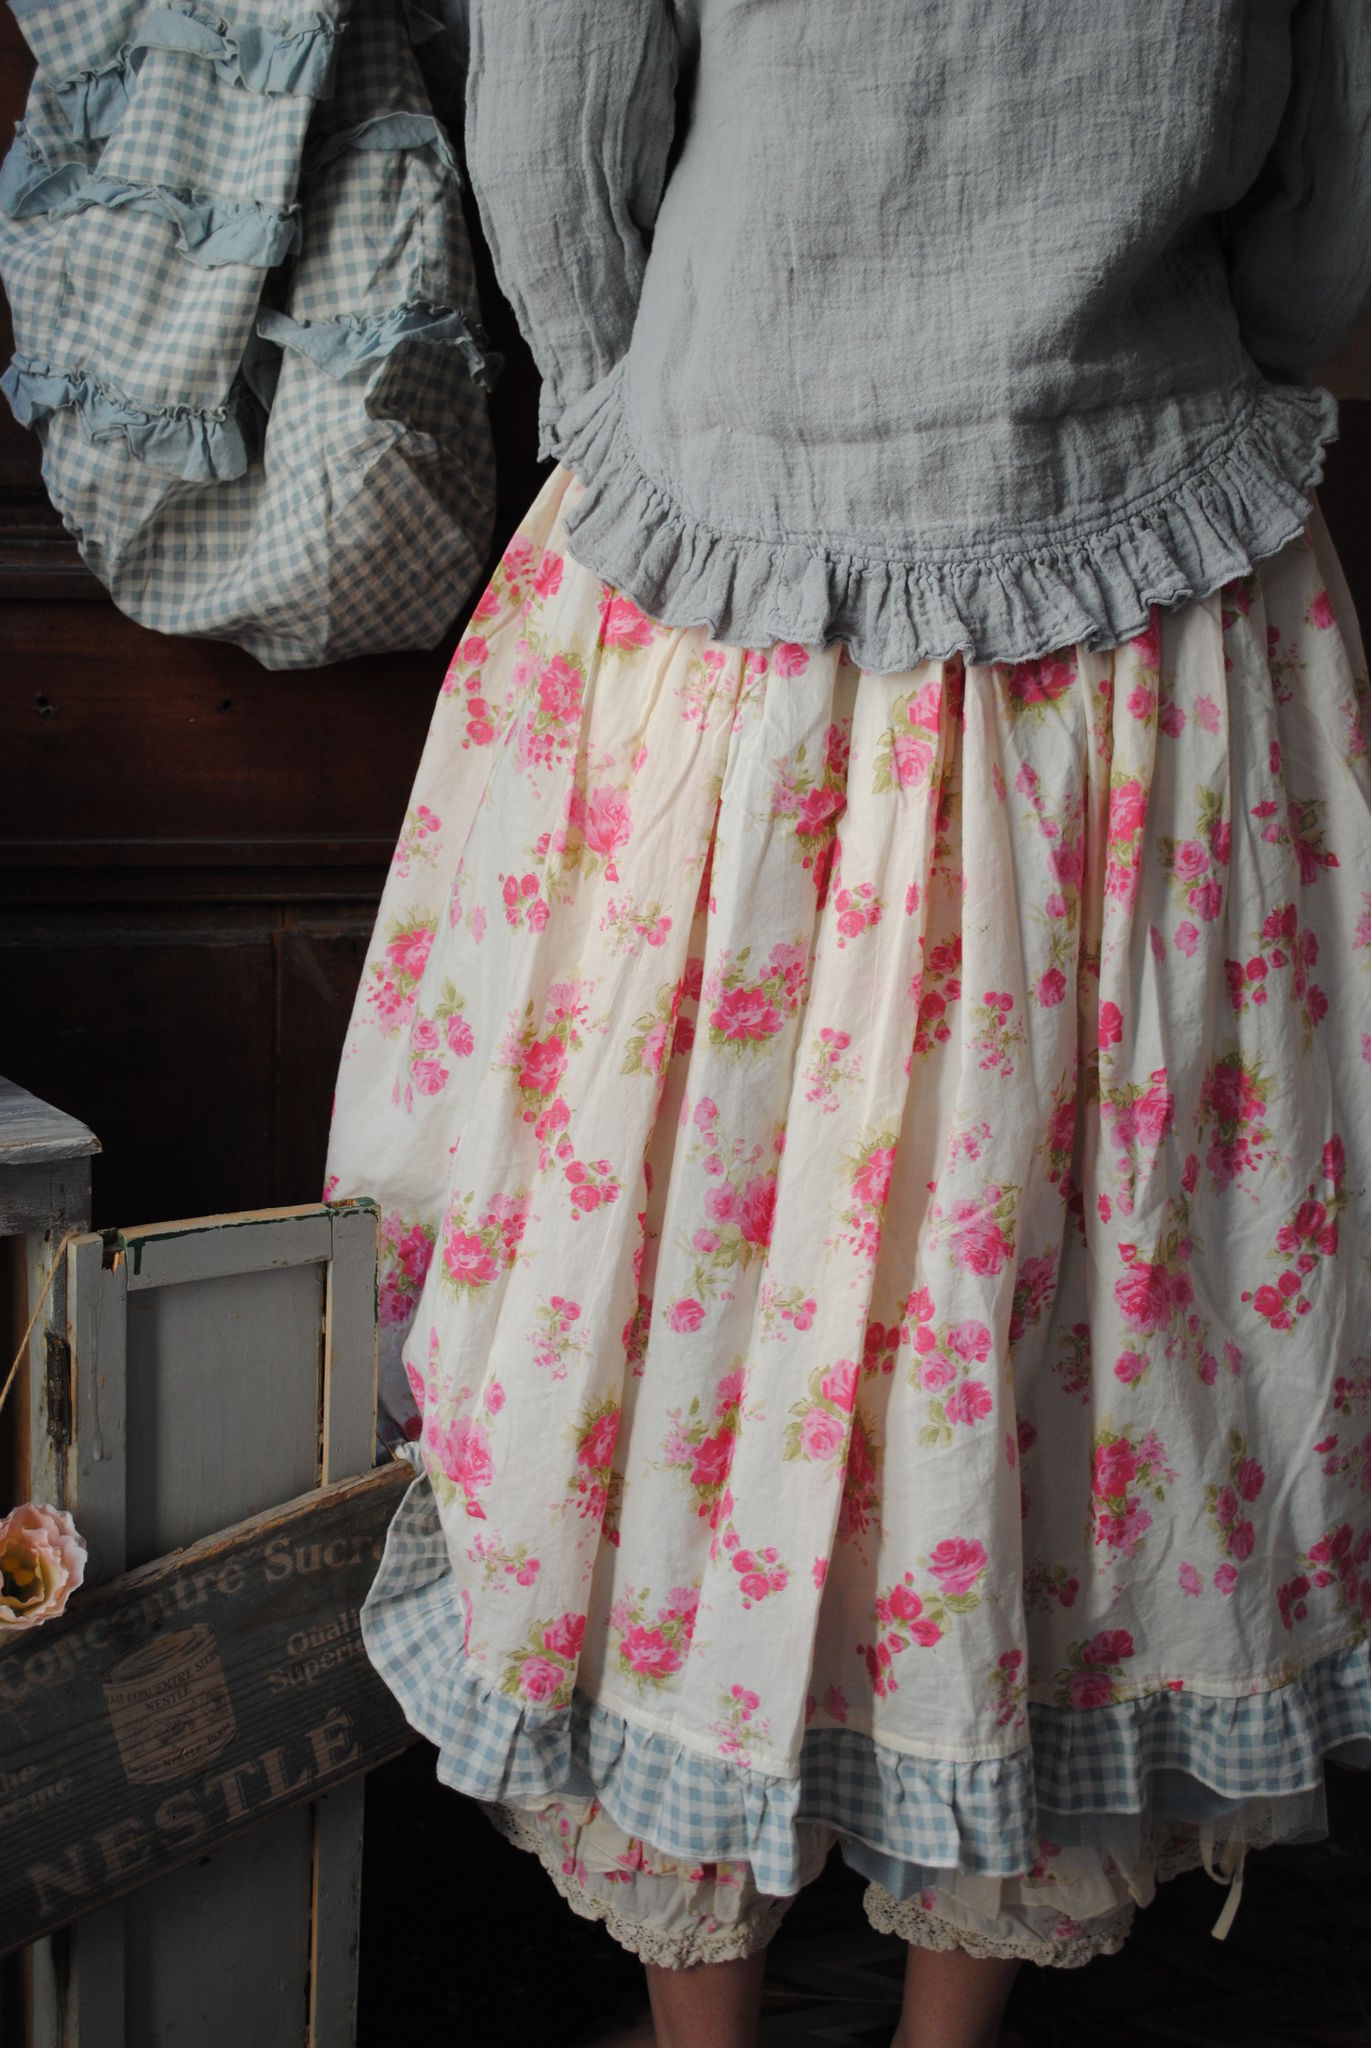
Can't you just see that snakey, raw edged, twisted, ruffle in a very light weight denim? I can. It's slithering along the edge of a nicely flowing denim shirt or jacket. Perhaps it's just a touch narrower. And in combination with something like this floral skirt in a lovely, fluid voile - or maybe a homespun style check or plaid like the trim on this skirt -, it would really hit the spot.

I bet you know how it goes. Historically inspired, modern fashion is the kind of sewing daydream that keeps me....
Enchanted by Sewing!
~ ~ ~

Resources

* Seventeenth and Eighteenth-Century Fashion in Detail, by Avril Hart and Susan North 


Search the V&A Collections http://collections.vam.ac.uk

** Details on and photos of the glorious gold sack-back gown at http://collections.vam.ac.uk/item/O127134/sack-back-gown-unknown/

I have several Pinterest sewing theme boards at http://www.pinterest.com/lrshimer/ You don't have to join Pinterest to look at them.


*** I'm not sure of the original context for this garment. I saw it on someone else's board. The only link that comes up for it is 
http://p7.storage.canalblog.com/76/26/647625/85282790_o.jpg

Saturday, August 24, 2013

Vintage Threads: Elsa Schiaparelli's Roses Get me Dreaming

Elsa Schiaparelli created this gorgeous design
for her autumn 1937 collection
I encountered this evening coat, designed by Elsa Schiaparelli, in the Victoria and Albert (V&A) fashion gallery, when I visited London in late May. If you come along on my audio tour of the exhibit, you'll hear a discussion I had with a Londoner about these lovely details, and the trompe l'œil urn design ... Is it an urn or is it two women facing in?   You may already recognize this famous double image created by artist Jean Cocteau designed to fake the viewer out. If you want to read more about the art movements that inspired Miss Schiaparelli's work, as well as more details about the garment, follow this link (http://collections.vam.ac.uk/item/O117953/evening-coat-schiaparelli-elsa/ )  to the V&A.

I've never really been that all taken by trompe l'oeil, but I do love roses! Don't you want a bevy of these beauties? I know I do, and of course the fact that I'm caught up working slowly and carefully through my denim skirt project (learning jeans-sewing skills without yet encountering the challenge of fitting jeans) gets me dreaming about switching horses in mid stream. Best to simply dream and plan these roses, and get the skirt finished, don't you think? 


You can check out other views
of this coat at
http://collections.vam.ac.uk/item/O117953/evening-coat-schiaparelli-elsa/ 
How will I use these blooms on that great come-and-do-it-day when I sit down with needle and a mass of silken ribbons? Well.... despite the beauty of this sumptuous evening garment, I know that I wouldn't get a lot of use out of a similar long flowing garment. It wouldn't be too practical  in a software Meetup, on a walk to the grocery store, a bike ride or trip to class. Sure, I might wear it to the ballet, opera or theatre but those aren't places I go everyday. In fact I have a pretty hooded black velvet coat I've been using for special occasions since college, and it still works great. That was a lifetime purchase (I found it in a low-key consignment store), so I won't be creating another special occasion garment with these.

I'm planning to create and use my roses in a rather different way. I wrote about those plans in a posting I wrote in Stitcher's Guild/Artisan Square, when I visited to ask a few how-to questions. 

I think they (the roses) would look nifty as an embellishment on my denim jacket, placed in a similar way to the ones that Elsa designed.

I know there are a lot of ways to make fabric roses. I'm partial to spider-web roses - but I think these are made differently. They almost look like origami- and maybe some kind of folding technique would be best. Another woman touring the gallery wondered if maybe when they were originally made, did they perhaps stand up a little more 3D, and over time they've flattened out. If so, a little iron steam might do the trick, though the flattened origami-kind of look looks good too.


As you will see, if you visit the forum and read this posting (http://artisanssquare.com/sg/index.php/topic,21274.0.html ), I'm not an expert when it comes to ribbon embroidery. But I got a lot of pointers from the folks in the group. No, the life of a creator just wasn't the same before we had the power of the web, was it? (In fact we used to depend on family members, classes, schools, clubs, neighbors, groups and our local libraries. We weren't that all deprived.)

Some of the basics I acquired reading different people's answers. (Though you will get more ideas when you visit the forum). 

Folks Suggested...

* Either silk ribbon or a strip of heavy bias silk--folded, draped, and layered into a rose shape similar to ribbon embroidery. 

* Intense pink at the center of each rose may be a brush dipped into dye.


* The leaves and golden bits perhaps crewel embroidery.


This gorgeous vintage camisole has
roses similar to the embellishment on the Schiaparelli Evening Coat

I loved reading the different ideas and discussions about antique ribbon work. And what about the beautiful camisole photo that emerged from the question? Yes, another distracting garment!

With the resources and ideas collected in this discussion, I'm expecting it won't be too long before I have my own bouquet of ribbon roses. 


You may also enjoy....

Stitcher's Guild Artisans Square, Forum Posting - "How Would You Create Elsa Schiaparelli's Roses?" http://artisanssquare.com/sg/index.php/topic,21274.0.html


 The Enchanted by Sewing Audio Tour of the V&A http://enchantedbysewing.blogspot.com/2013/07/ench-by-sew-010-v-fashion-gallery-tour.html


Monday, March 4, 2013

African Beads Embellish My Sewing (Suministros especializados/Special Supplies)

Reasons I like these speciality supplies?
       * They support Low-Income Women by buying their product (member of the Fair Trade Federation)
       * How much greener can you get? Recyling waste paper
       * Their colorful designs compliment my casual, arty, romantic style

* The Bead for Life web site says....


"BeadforLife's loose beads are the perfect way to make your next jewelry project more meaningful! Our beads are handmade from colorful recycled paper by women in Uganda who are working to lift themselves out of poverty and create a sustainable income. When you create jewelry using BeadforLife loose beads, you'll feel good knowing you're looking good and doing good!"

I received a bag of this beads for a holiday present. My sister-in-law bought them for me at a beading party, but I've since found that I can buy them directly on the web without going to such an event. Though I used to make beaded jewelry, I don't anymore. However I've sewn these lovely little recycled jems on a number of tee shirts and sweat shirts, in and around the neckline, and they add a nice touch. 

I sew them on with fishing line or heavy-duty clear thread. I go back and forth a couple of times through the hole to secure them. When I sew them onto lightweight tees, I stabilize the back side of the tee in the sewn on area, using scrap fabric or ribbon.

I usually wash my home sewn clothes in regular warm machine cycle, but I hang my homemade garments to dry. The beads haven't obviously faded after many warm/hot water machine washings, but I'm suspicious that they might do so over time if they ran through a hot dryer. I would recommend testing one or two of them in the dryer, if you like to dry your clothes that way.

Thursday, January 10, 2013

Embellishment: Keeping it Simple with Decorative Stitching

My bird'y vest is flannel, lined with flannel
The decorative machine stitching adds weight that
helps the fabrics lay better, and gives the garment
a more definite edge.
There's always a sewing tradeoff between focusing on one garment, learning techniques and finishing up some of those unfinished objects (UFO's).

Not to mention artistic fever.

This month artistic fever hit big time. I imagined using all kinds of specialized embellishment techniques. Surely I was going to do all kinds of elegant work on the vest I was creating as fodder for my January podcast. How about quilting it? I thought about creating a motif of pieced flying geese blocks and turning them into diagonal pockets. Wouldn't that be darling? Of course the pocket-blocks would be machine quilted as well as the entire front and back. Then I read an article in an ancient Threads magazine about Sashiko. There's another technique I've always meant to spend time learning. I mean..... how long could it take to learn? (Yes that's a joke :-) Or, I could experiment with machine techniques for doing Shasiko. There's plenty of info on the web!

Yeah, let's get real!

Am I actually planning to get some work done this month? Sewing time is hobby time and it needs to be carefully budgeted. Besides that, I've got several projects cut out that I'd really like to finish up. I stopped in the middle of the flannel birds vest above to cutout and finish a rose pink tee I've really been enjoying wearing today. If I'd gone off focusing on major embellishment techniques there would have been no time to get a tee shirt done. And those half-done light weight denim trousers would be haunting my dreams. OK, they still are, but I have high hopes of getting the buttons done on the bird'y vest and getting on with them.

The tradeoff, of course, was to use decorative machine stitching. I love the look and the heft it adds to the edge of my vest, as well as the hem, sleeves and neckline of that rose pink tee. It doesn't even matter if others notice it. Every time I slip one of these garments on, I get pleasure from those stitches.

And it takes little more than extra thread and maybe an extra 30 minutes or so of sewing time.

Every time I slip on the sleeve of my new
rose tee, I enjoy the hefty band of
decorative machine stitching on the edges.
I used a lengthened feather stitch for this shirt.
Decorative machine stitching is an embellishment that gives me hobby time to cut down my stack of UFO's.  It's my budget sure-cure for artistic fever.